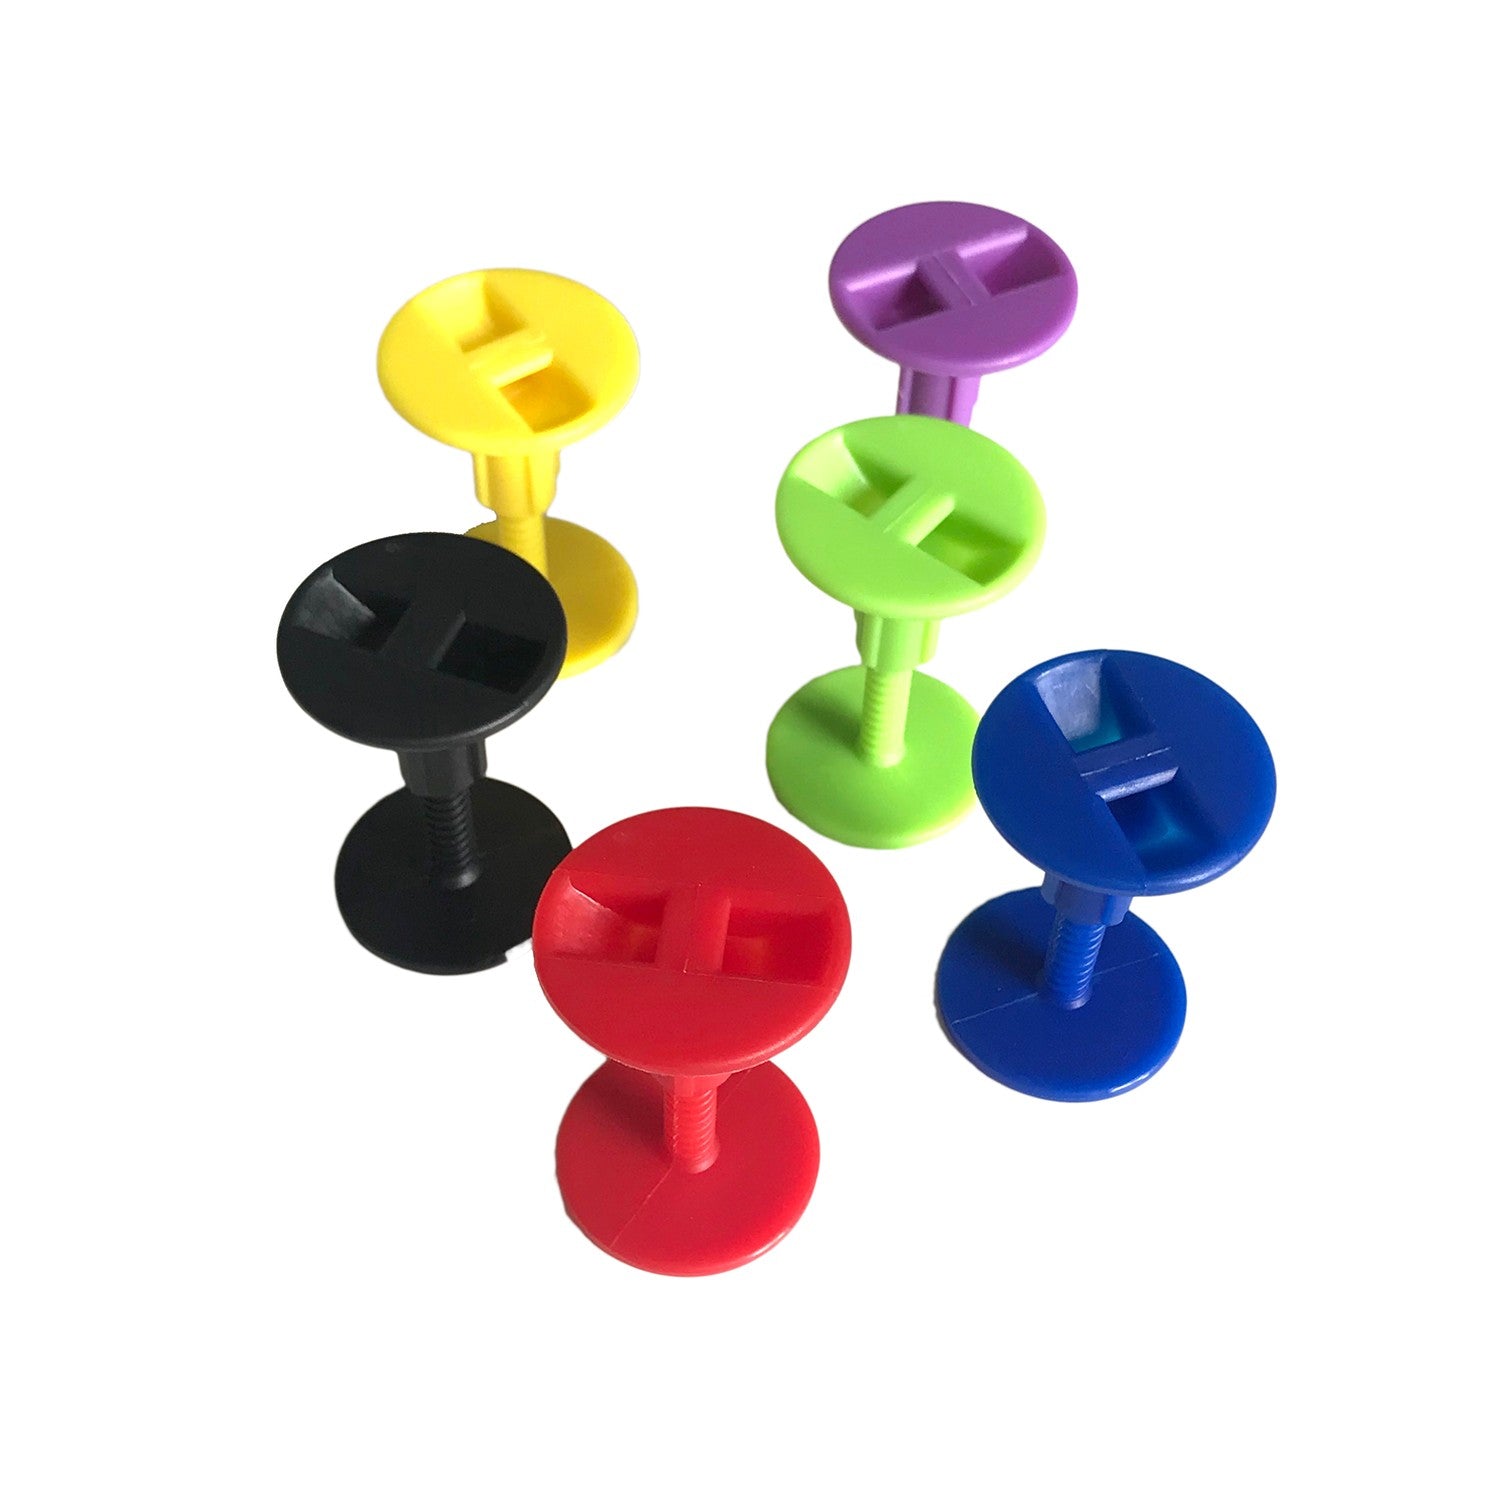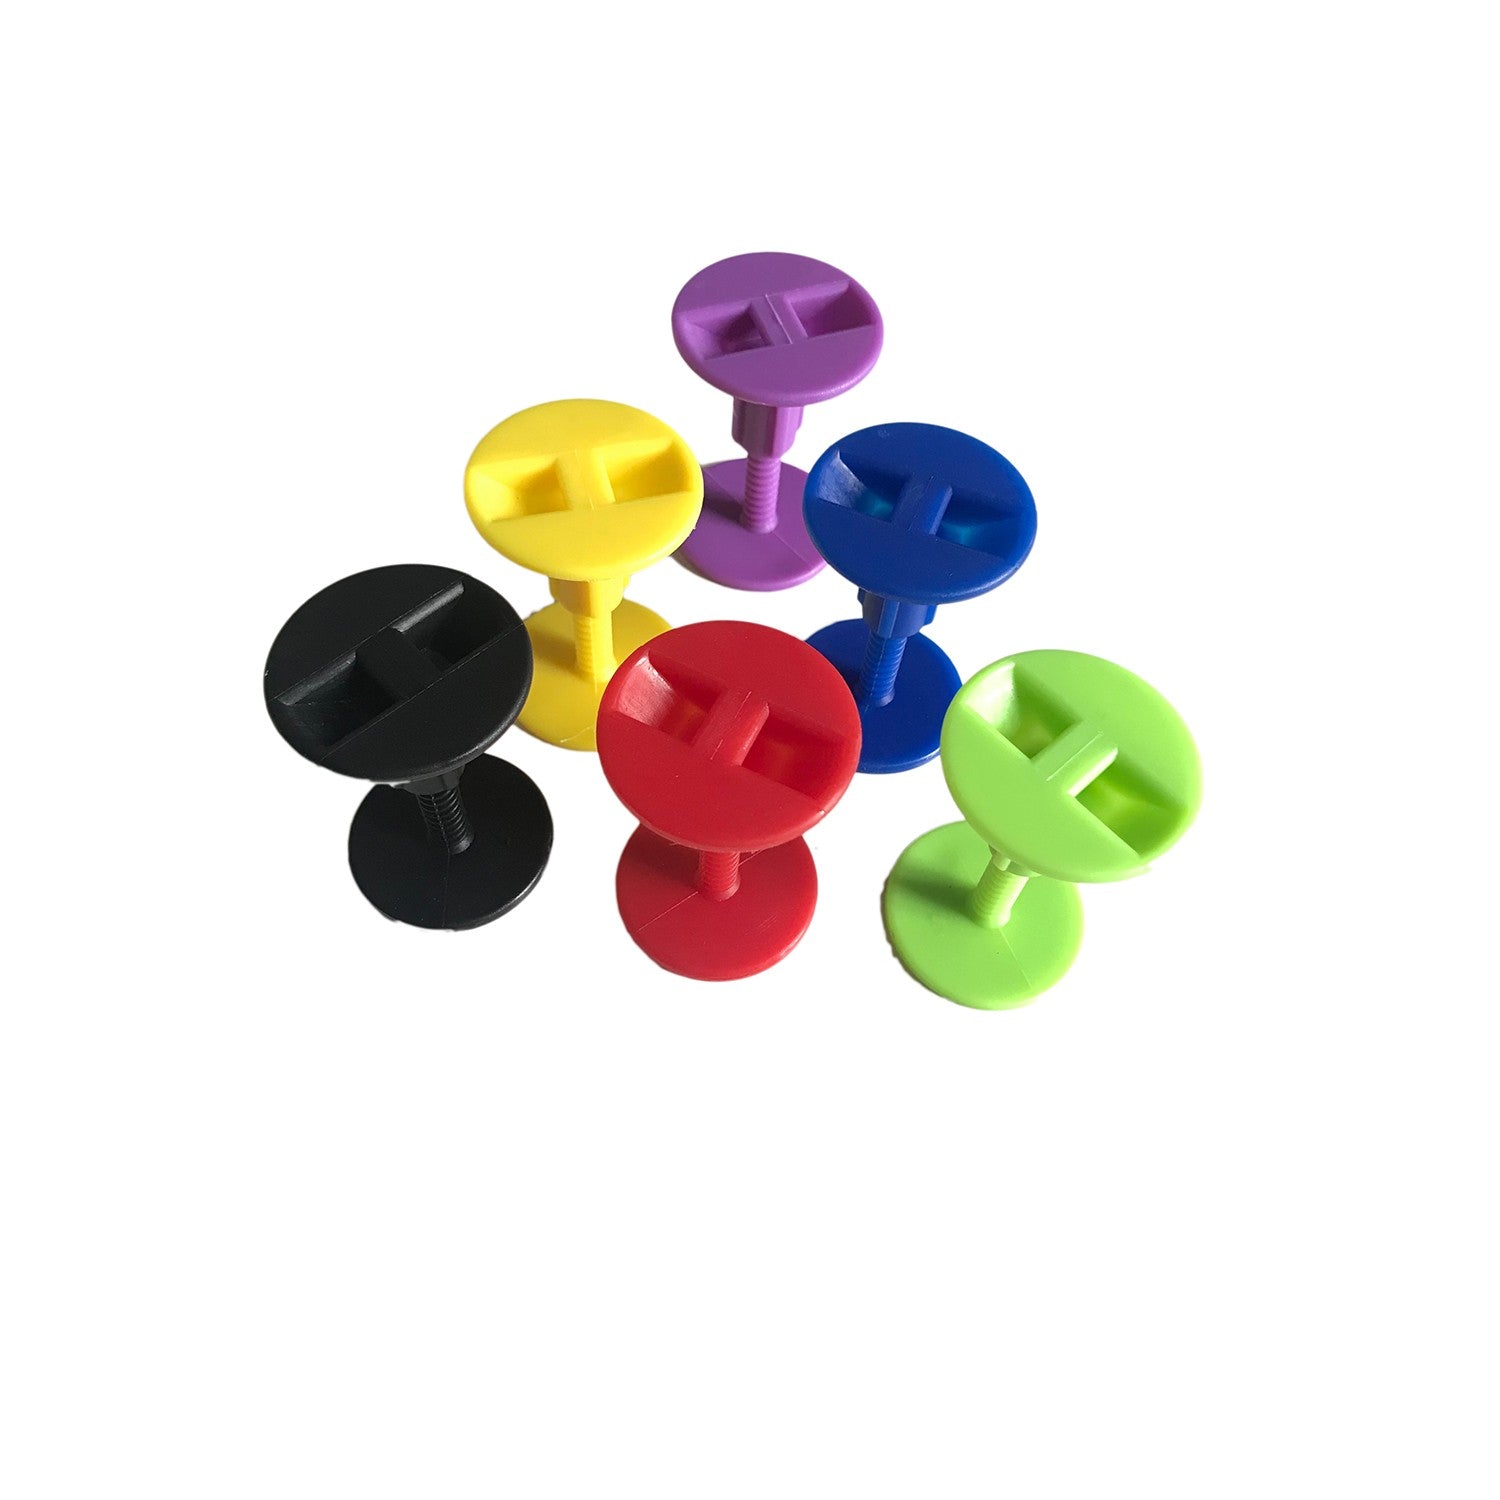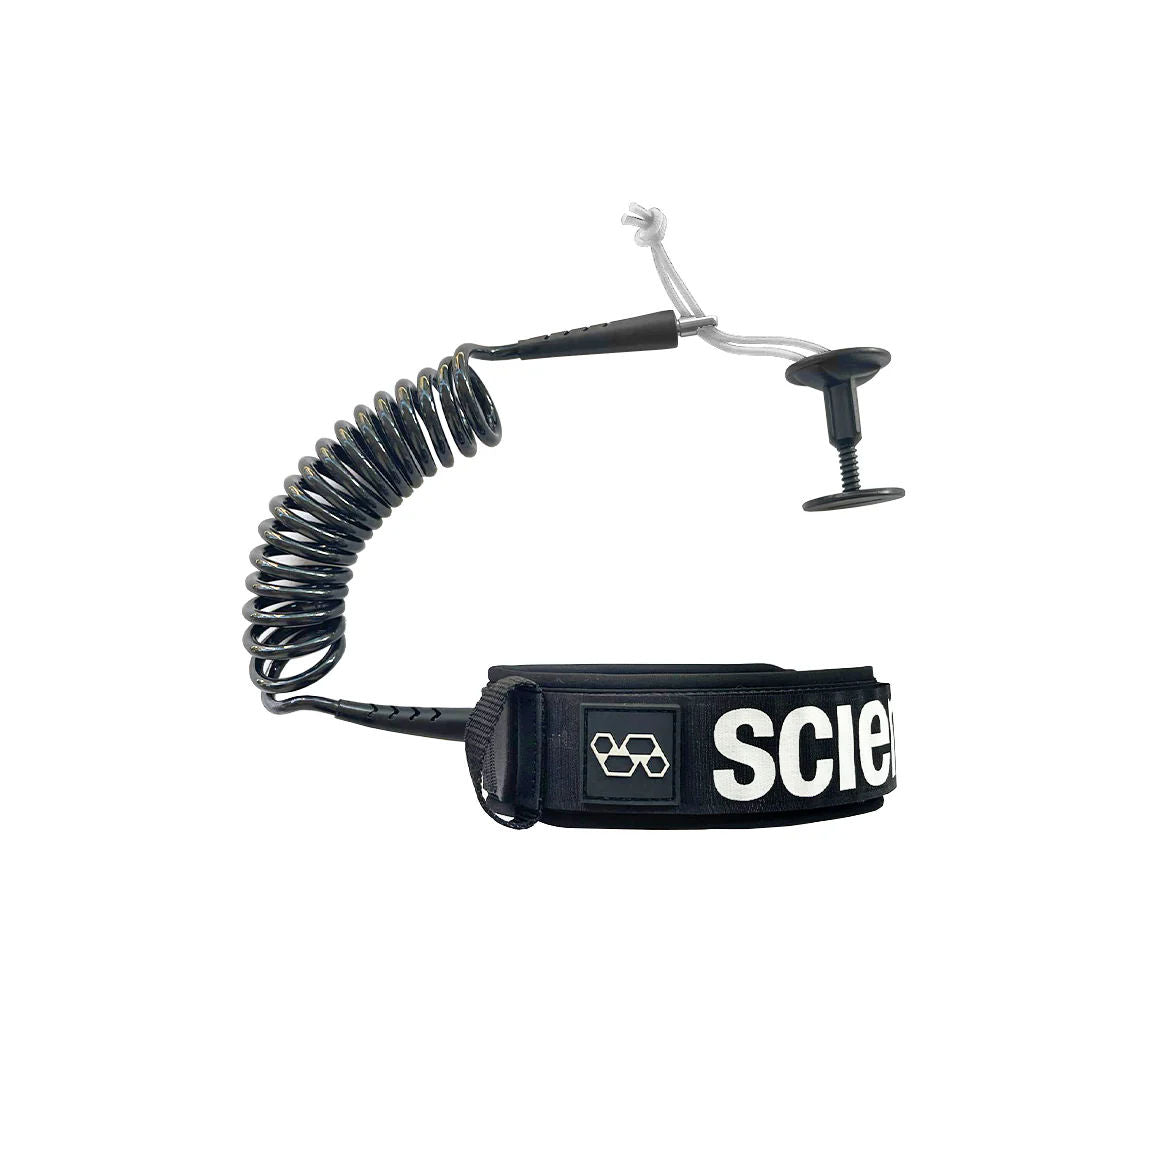
We are often asked, or our customers ask us to do it for them: How to install a plug on your Bodyboard board to attach a leash?
It's quite simple to drill your bodyboard board to install a plug and a leash, you just need to follow these essential steps and gather a few tools:
- A lighter
- A marker
- A screwdriver 5 to 8mm thick

Step 1: Knowing where to drill
Knowing where to drill is essential. You don't drill randomly; you need to check the product's specifications to see if the board has 1 or 2 stringers (fiberglass or carbon tubes to reinforce the foam core of the board). Some boards don't have any stringer(s) at all, but this is quite rare for high-end models. If the board has only 1 stringer, it will be in the center line of the board, so you must not drill in the middle of the board, otherwise you risk hitting the stringer. Conversely, if the board has 2 stringers, you can drill in the center of the board since the 2 stringers are located to the left and right of the core, usually spaced 25 cm apart.
If the board has only 1 stringer: You will drill to the right or left of the stringer depending on whether you are right-handed or left-handed (thus depending on the placement of your leash, right arm or left arm). Move away from the stringer (and therefore from the center of the board if it is a board with only one stringer) by at least 3cm so that you drill far enough from the stringer not to hit it during drilling and to avoid water infiltration between the plug hole and the cavity where the stringer is housed.
If the board has 2 stringers: You can drill the board in the center (in line) since there is no stringer in the center of the board.
If the board has no stringer at all: Drill wherever you want, but the simplest and most practical way is probably to drill in the center of the board.

Photo above: Drilling a Science™ Bodyboard board with only 1 stringer in the center. Drilling on the right side, at a good distance from the right rail and the nose of the board.
Then, you must keep in mind that you do not drill too close to the rails or the nose of the board because you will weaken the board and the plug and leash will hinder you from holding the board. Your hands, elbows, wrists must be free to move and you should not hinder them with a leash installed along a rail or very high on the board near the nose. Generally (to be adapted according to the size of your board) you must drill at least 15-17cm from the nose and 15-17cm from the rail (more if it is a large board).
NB: Do not drill into the rocker of the board (the part of the nose that curves up gently underneath). If you drill too high and therefore into the rocker of the board, it will hinder the glide.
To save time and avoid mistakes, take a marker or pen and make a dot at the exact spot where you want to drill.
Drilling is done the same way, whether your board is PP, PE, or EPS.

Step 2: Heat to drill
A good drilling is done hot, to weld the cells of the board's deck and core to minimize water entry into the foam, facilitate drilling, and achieve a clean, neat hole.
The simplest way to do this is to heat your screwdriver with a simple lighter if you don't have anything else on hand to heat it. Heat the tip of the screwdriver for at least 3 minutes so that the tip of the screwdriver is scorching hot (do not touch the tip or the hot part of the screwdriver with your fingers afterward).

When the tip of the screwdriver is scorching hot, you will be able to drill easily and cleanly. Drill straight, perpendicular to the board's deck. It is preferable to drill from the top (the deck) when the screwdriver has been heated. If by chance you have to drill without having heated the screwdriver, we advise you to drill from the bottom (the slick).

A very hot screwdriver allows you to penetrate and drill the foam of the deck, core, and slick of your board very quickly and easily. The scorching screwdriver sinks effortlessly into the foam but will quickly return to ambient temperature, so you must drill quickly and well before the screwdriver cools down. On the deck (the top), you can slightly widen the hole at the entrance by making small circular movements to allow the plug to insert better into the deck part while your screwdriver is still hot. It doesn't stay hot for more than 30-60 seconds generally, so do it quickly - or take a break and heat your screwdriver again. On the slick side, we don't widen it; we leave the hole clean, as is, and just the size of the drilling because the part of the plug that enters the slick is narrower than the upper part of the plug, so there's no need to widen the hole further on the slick side.

Step 3: Screw the plug into the board
Your hole is drilled, all you have to do now is screw the plug into the board. First unscrew the 2 parts of the plug, insert the upper part of the plug on top of the board (deck), sometimes you have to force it slightly because the hot-made hole is often a little narrower than the plug head, force it slightly without tearing the foam, make small circular movements to push the plug head into the board's deck. The plug head sometimes has small grooves to stay firmly in place in the board.

Then insert the lower part of the plug from the slick side (bottom) of the board, forcing it a little if necessary. The 2 parts of the plug will face each other inside the board and you will be able to screw your plug firmly. Screw it in using a coin in the slot provided on the plug to easily turn the lower part of the plug and screw until the top and bottom foam of the bodyboard are slightly compressed by the pressure of the plug. A slight compression is enough, no need to tighten too hard and crush the foam too much under the plug's pressure. When properly screwed, a slight deformation of the deck and slick is noticeable, which is sufficient.
NB: If your board is very thin (this is usually the case for small boards, which are not very thick), it may happen that you cannot screw the plug in strongly enough to compress the deck and the slick of the board a little during plug installation. This is normal, the threaded rod of the lower part of the plug is probably a bit long compared to the thickness of your board. The trick is to cut (with wire cutters or a large utility knife) about 5-8mm off the threaded rod of the lower part of the plug to reduce its length and thus be able to correctly tighten the 2 parts of the plug into each other and properly compress the deck and slick of your bodyboard with the plug.

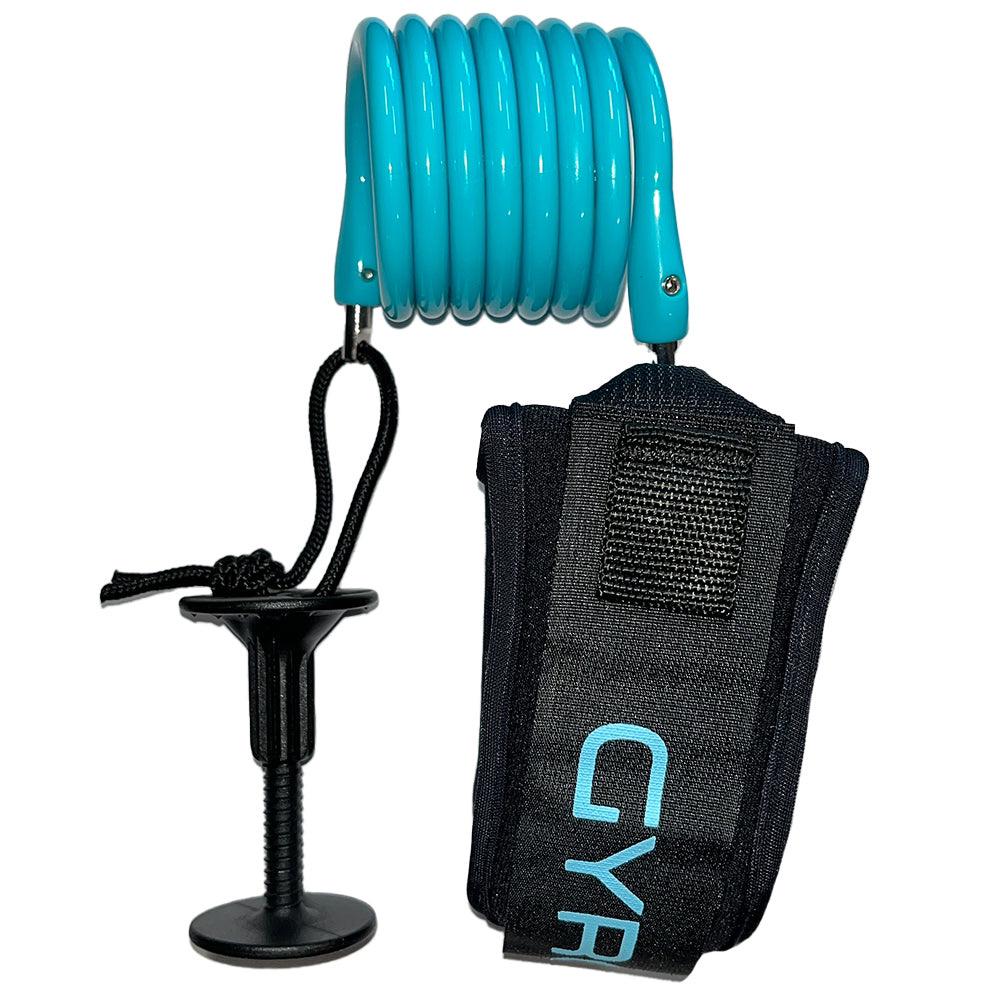
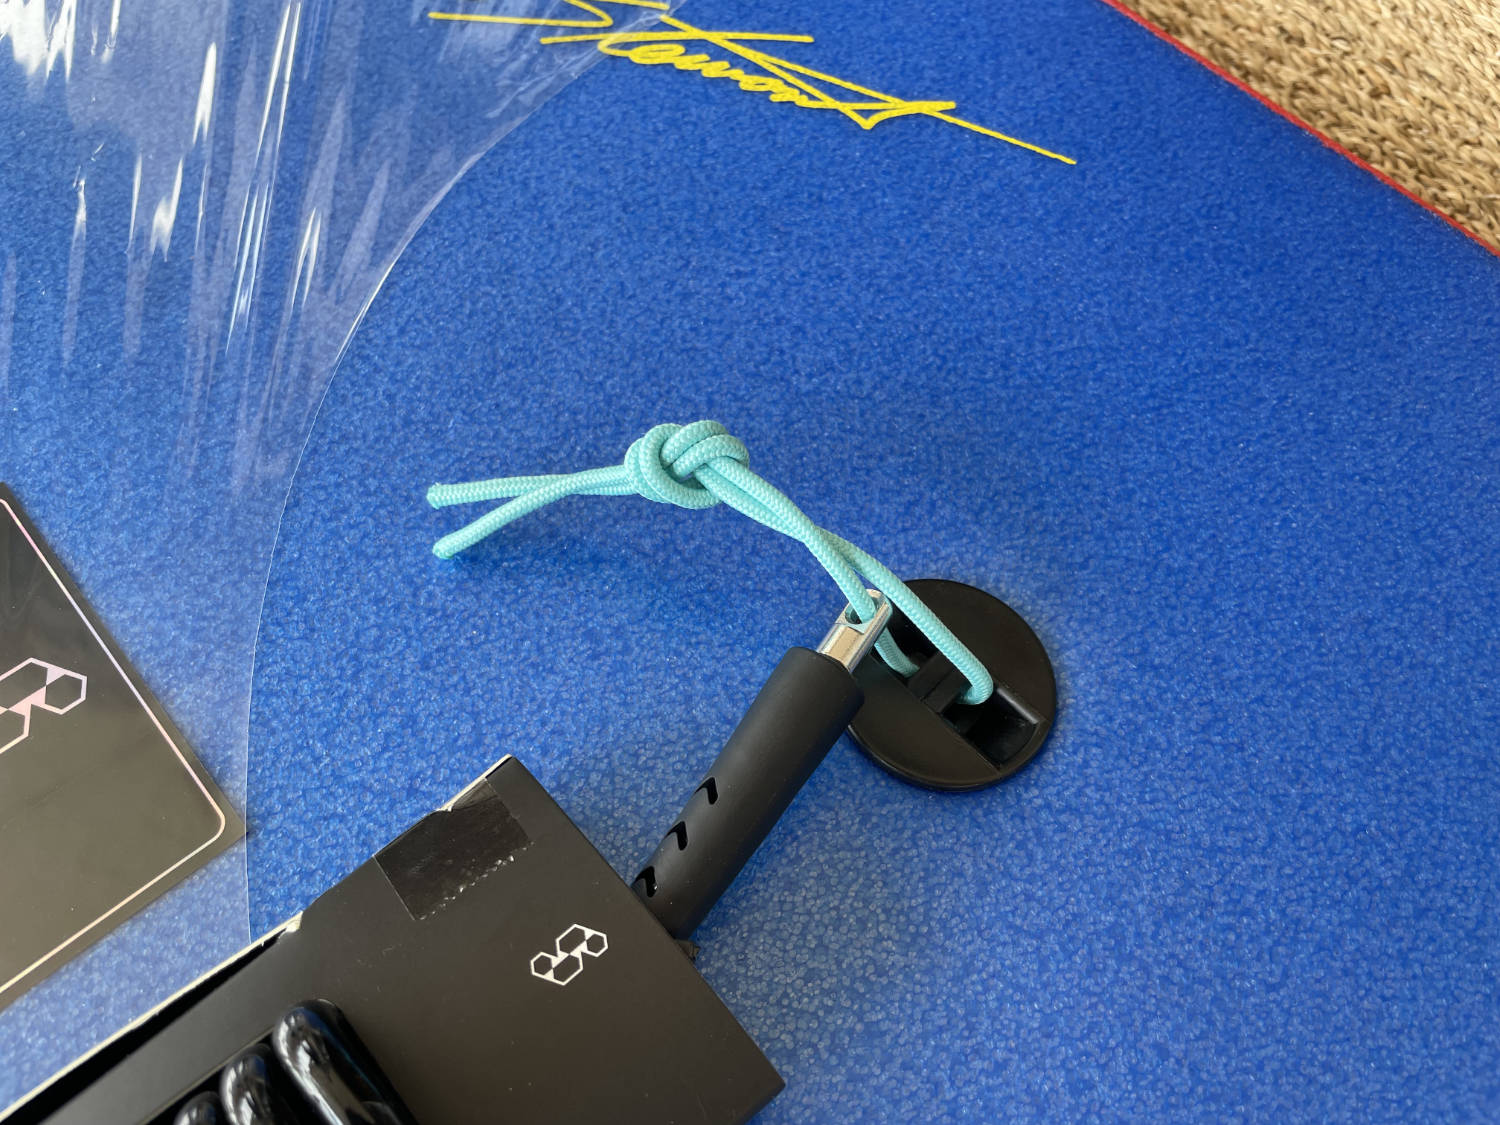
Step 4: Attach the leash to the plug with the string
4th and final step, attach the leash to the plug with the provided string. A simple knot or "stopper" knot is sufficient, look carefully at the photo, you take the string with its 2 strands and wrap the 2 strands together for a very strong knot.